In this tutorial, we will set up a web page with a WebMCP tool, run the local relay, and connect a desktop MCP client so the AI agent can discover and call the tool. By the end, you will have a working pipeline from a browser tab to Claude Desktop (or any MCP client).
 Browser Tab                          Local Machine
+-----------------------+            +-----------------------+
|                       |  WebSocket |                       |
|  Page with            |----------->|  webmcp-local-relay   |
|  WebMCP tools         |  localhost |  (MCP server)         |
|                       |            |                       |
+-----------------------+            +-----------+-----------+
                                                 |
                                           stdio | JSON-RPC
                                                 |
                                     +-----------v-----------+
                                     |                       |
                                     |  Claude / Cursor /    |
                                     |  any MCP client       |
                                     |                       |
                                     +-----------------------+

Prerequisites

  • Node.js 22.12 or later
  • A modern web browser
  • An MCP client (Claude Desktop, Cursor, Claude Code, or Windsurf)

What we will build

  1. An HTML page that registers a get_page_title tool and connects to the relay
  2. A running relay process that bridges browser tools to MCP clients
  3. A desktop AI agent that can list and call the browser tool
1

Create the web page

Create a file called relay-demo.html:
relay-demo.html
<!DOCTYPE html>
<html lang="en">
<head>
  <meta charset="UTF-8">
  <title>Relay Demo Page</title>
  <script src="https://cdn.jsdelivr.net/npm/@mcp-b/global@latest/dist/index.iife.js"></script>
</head>
<body>
  <h1>Relay Demo</h1>
  <p id="status">Registering tool...</p>

  <script>
    navigator.modelContext.registerTool({
      name: "get_page_title",
      description: "Get the current page title",
      inputSchema: { type: "object", properties: {} },
      execute: async () => ({
        content: [{ type: "text", text: document.title }]
      }),
    });

    document.getElementById("status").textContent =
      'Tool "get_page_title" registered. Waiting for relay connection...';
  </script>

  <script src="https://cdn.jsdelivr.net/npm/@mcp-b/webmcp-local-relay@latest/dist/browser/embed.js"></script>
</body>
</html>
The first script tag loads @mcp-b/global, which sets up navigator.modelContext. The tool registration is the same pattern from the first tool tutorial. The last script tag loads embed.js, which creates a hidden iframe that connects the page’s tools to the local relay via WebSocket.
The embed.js script must appear after your tools are registered, so the relay can discover them on connection.
2

Configure the relay in your MCP client

Add the relay to your MCP client’s configuration. The exact location depends on your client.
Open Claude Desktop settings, go to the MCP section, and add:
claude_desktop_config.json
{
  "mcpServers": {
    "webmcp-local-relay": {
      "command": "npx",
      "args": ["-y", "@mcp-b/webmcp-local-relay@latest"]
    }
  }
}
When the MCP client starts, it launches the relay process. The relay listens for WebSocket connections from browser pages on ws://127.0.0.1:9333.
3

Open the page

Open relay-demo.html in your browser. You can open the file directly, or serve it from a local server if you prefer.The page registers the tool and the embed.js script connects to the relay via WebSocket (see Transports and Bridges for details). The relay now knows about the get_page_title tool on this tab.
4

Verify the connection from your MCP client

In your MCP client, the relay exposes management tools. Ask the agent:
List the connected WebMCP sources.
The agent calls webmcp_list_sources, which returns something like:
[
  {
    "tabId": "abc123",
    "origin": "file://",
    "url": "file:///path/to/relay-demo.html",
    "title": "Relay Demo Page",
    "toolCount": 1
  }
]
Your browser tab is connected.
5

Call the tool from the agent

Ask the agent:
What is the title of the connected web page?
The agent calls the get_page_title tool and returns:
Relay Demo Page
You have called a browser-side tool from a desktop AI agent through the local relay.
6

Try with a live website

Open webmcp.sh in a separate tab. It has WebMCP tools for navigation, SQL queries, entity management, and more. Ask the agent to list sources again. You will see tools from both tabs. The relay aggregates tools from all connected pages.
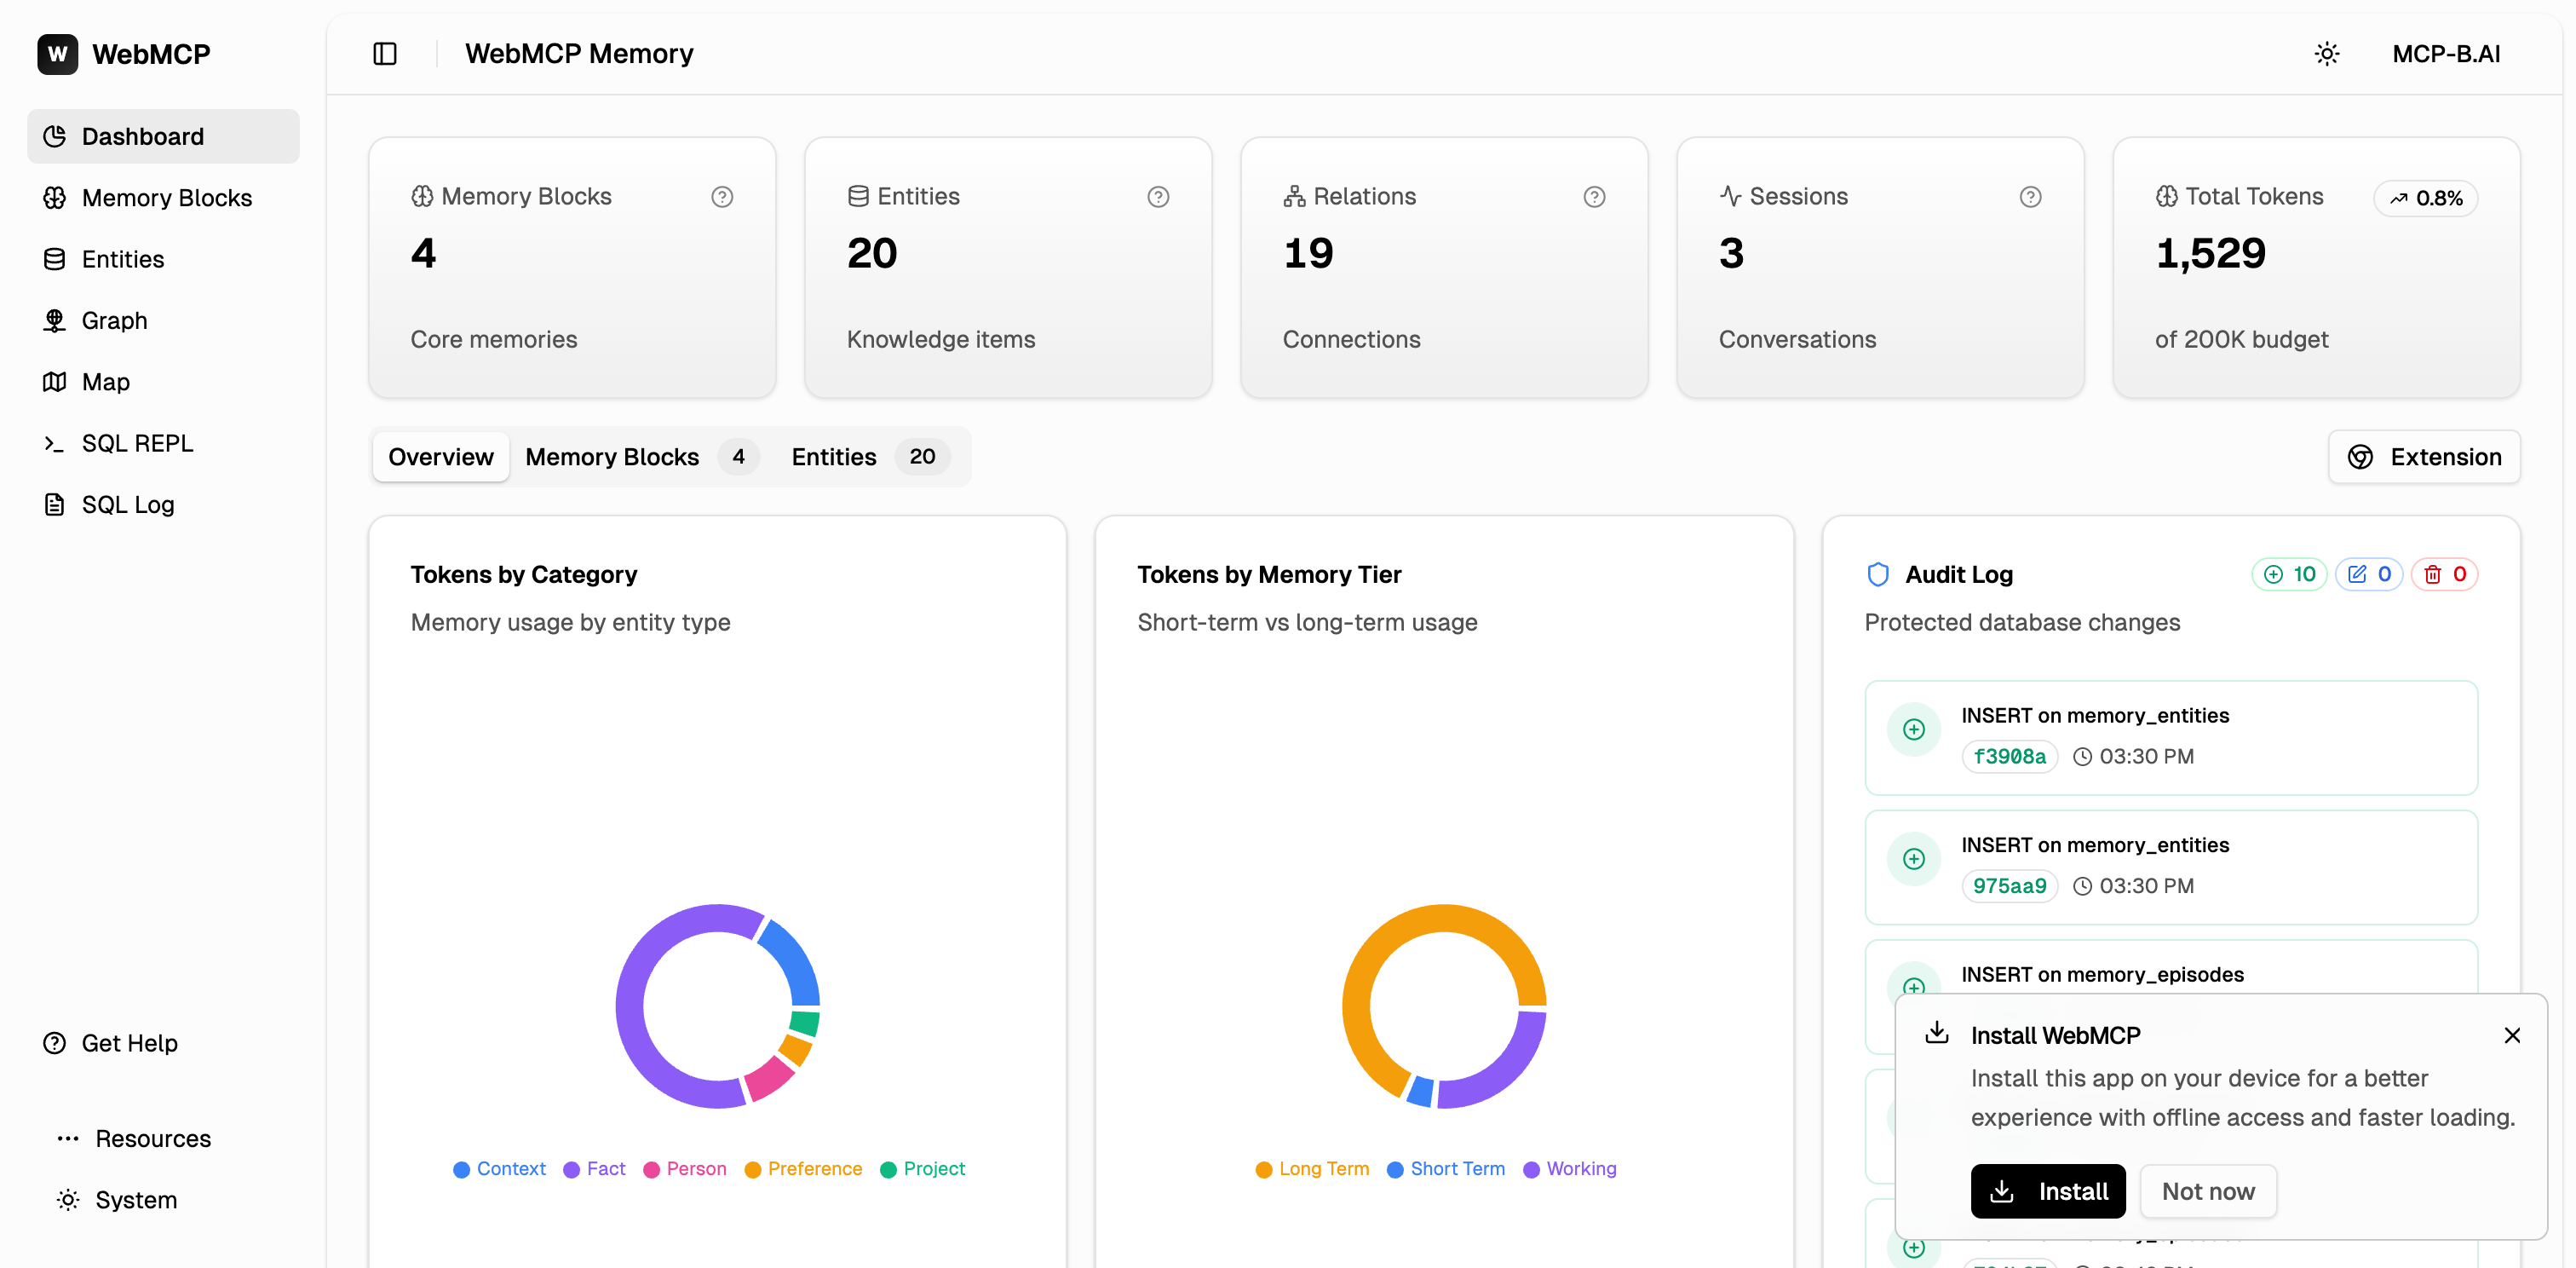
webmcp.sh dashboard showing memory stats, charts, and audit log

What you learned

  • The local relay bridges browser WebMCP tools to desktop MCP clients over WebSocket and stdio
  • Adding embed.js to a page connects that page’s tools to the relay
  • The relay exposes management tools (webmcp_list_sources, webmcp_list_tools) alongside the dynamic browser tools
  • Multiple browser tabs can connect simultaneously, and the relay aggregates their tools

Next steps